
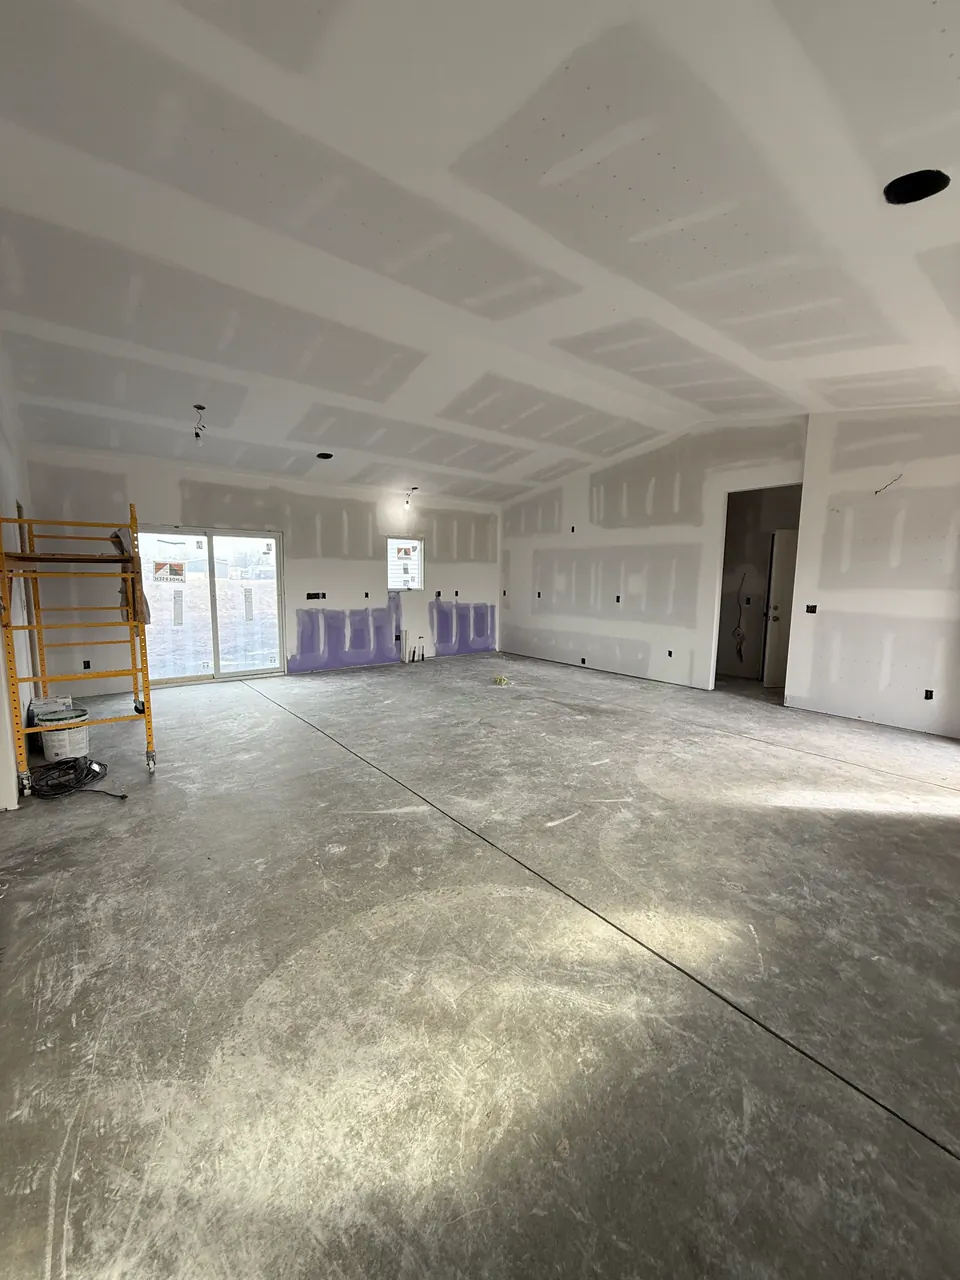
Drywall repair proposals become easier to compare when every contractor responds to the same room-by-room condition list. The goal is to make scope differences visible before a lower total turns out to stop at joint compound while another estimate includes texture, primer, paint, and occupied-home protection.
1-5: establish why the area is ready
- What caused the damage, and who is responsible for correcting that cause?
- Has a leak, movement, impact source, pest issue, electrical condition, or other cause been resolved?
- Is the area dry, safe, and released for rebuild by the appropriate party?
- Could the work disturb lead paint, asbestos-containing material, or another unknown finish?
- Is the wall or ceiling part of a fire-, smoke-, sound-, moisture-, or other rated or special assembly?
6-11: define the repair boundary
- Room, wall or ceiling, dimensions, height, and access conditions.
- Patch only, opening to framing, panel replacement to framing, or a larger plane.
- Existing panel thickness, type, layers, orientation, and assembly information available.
- Backing, blocking, framing, insulation, and rough-in work included or assigned to others.
- Corner bead, trim, control joint, access panel, fixture, cabinet, or baseboard interfaces.
- Conditions that trigger a written change after the opening is safely exposed.
12-17: specify finish and decoration
- Tape and joint treatment appropriate to the identified repair and assembly.
- Finish level or expected appearance tied to the final decoration and normal lighting.
- Texture family, sample, blend distance, and agreed stopping boundary.
- Drywall primer versus stain-blocking or another specialty primer.
- Paint manufacturer, product, color, sheen, number of coats, and application method.
- Spot paint, corner-to-corner wall, full ceiling, or another visible boundary.
USG's installation guide describes patching dents, holes, pops, and cracks and calls for sanding and priming when dry. That is a useful baseline, but the exact repair still depends on the damage, assembly, products, and expected final decoration.
18-23: protect an occupied home
- Furniture and belongings the owner moves versus items the contractor protects.
- Floor, cabinet, fixture, HVAC return, doorway, and travel-path protection.
- Dust-control approach, tool collection, barriers, ventilation, and daily cleanup.
- Children, pets, work hours, keys, alarms, parking, and restroom arrangements.
- Material storage, waste handling, and the condition of the room at the end of each day.
- Lead-safe firm and work-practice requirements when covered pre-1978 work is involved.
EPA recommends correcting the underlying cause of damage and using barriers and ventilation to limit renovation pollutants. For covered work in pre-1978 housing, separate lead-safe requirements apply; ordinary dust-control language should not be treated as a substitute.
24-28: close the project clearly
- Drying time between steps and the expected number of visits.
- Normal lighting and viewing position used for the walk-through.
- Reinstallation of trim, fixtures, switch plates, vents, or owner items.
- Final cleaning, debris removal, leftover labeled paint, and repair photos.
- Warranty coverage, exclusions, notice process, and remedy.
Use one side-by-side worksheet
Give each contractor the same photos, dimensions, cause record, texture close-up, paint information, room-access notes, and desired finish boundary. Mark each checklist line included, excluded, owner responsibility, allowance, or unresolved. Compare price only after the scope columns describe the same finished result.
Helpful public references
- USG/CGC Sheetrock installation and finishing guide — manufacturer repair, finishing, sanding, and priming guidance.
- EPA remodeling indoor-air guidance — cause correction, barriers, and ventilation.
- EPA RRP consumer guidance — planning covered work in pre-1978 homes.