
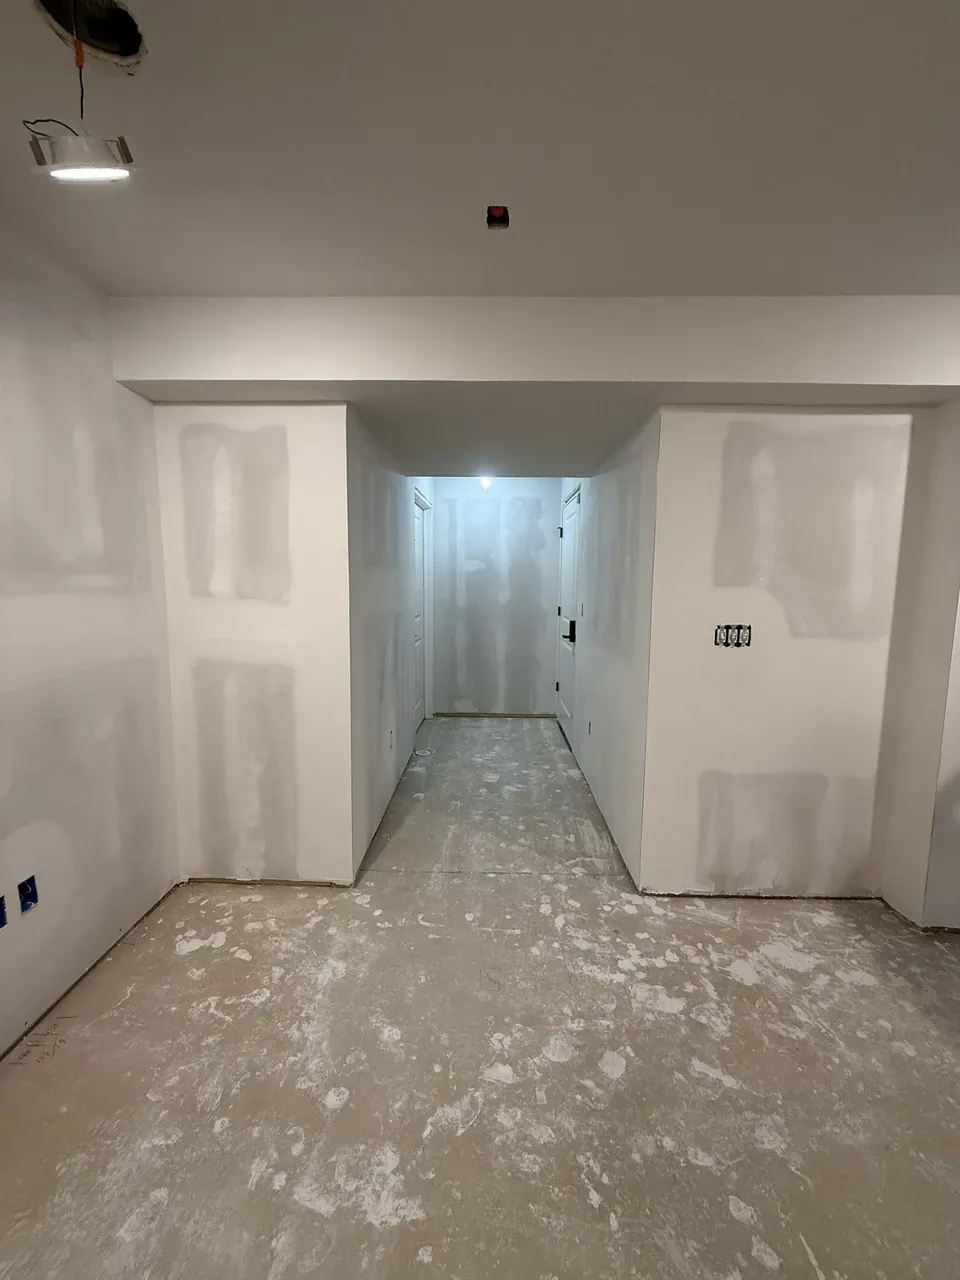
A drywall nail pop is a raised spot, cracked circle, or exposed fastener head where gypsum board was attached to framing. A screw pop is the comparable symptom at a screw. The visible compound is the last layer of the condition, so coating the bump alone does not define a complete repair.
This worksheet does not diagnose framing, moisture, structural movement, or a rated assembly. A sagging or soft ceiling, active stain, widespread movement, rapidly increasing pattern, or uncertain fire-resistance requirement needs appropriate evaluation before ordinary finish work.
Map the pattern before disturbing it
- Room, wall or ceiling, and a unique ID for every pop or cluster.
- Single spot, straight line, seam-adjacent row, corner group, or room-wide pattern.
- Approximate spacing and relation to framing when known.
- Raised circle, loose compound, visible nail or screw, torn paper, ridge, or panel movement.
- Nearby crack, stain, sag, texture mismatch, or prior repair.
- First observed date, building or renovation age, seasonal timing, and recurrence history.
Decide whether a drywall estimate is the next step
An isolated, dry, stable fastener symptom can be prepared for a repair estimate. Pause when the panel is wet, soft, sagging, displaced, or part of a changing pattern. Also identify garages, corridors, multifamily separations, utility spaces, ceilings, and other locations that may involve a rated or special assembly.
Write the fastening step separately
The Gypsum Association's GA-222 guidance describes resetting a popped nail when appropriate and securely fastening the board near the pop before finishing. The exact method, fastener, spacing, and assembly must fit the installed panel and framing. The estimate should not reduce that decision to “apply spackle.”
| Layer | Define in writing | Acceptance record |
|---|---|---|
| Fastening | Pop treatment, supplemental fastener, panel/framing condition, special assembly | Photo before compound |
| Surface | Loose material, paper treatment, compound coats, drying, sanding | Flat repair under agreed light |
| Texture | Existing texture, sample, blend area, transition | Approved sample or walkthrough |
| Coating | Primer, paint product, color, sheen, coats, boundary | Finished room view and product record |
Plan for a pattern, not only the first spot
When several pops follow one framing line or repeat across a ceiling, ask whether the estimate covers only marked spots, every visible fastener in the defined area, or a broader evaluation. Marking all known locations before setup helps the contractor price protection, access, repeated finishing, texture, and painting consistently.
Set realistic finish boundaries
Even when the fastening repair is small, texture and paint can make the visible boundary larger. Record ceiling height, texture, existing paint age, color and sheen, available leftover paint, side lighting, and whether the planned result is spot repair, wall-to-corner repaint, or full ceiling repaint. A fastener repair and an invisible paint touch-up are different promises.
Use a closeout and recurrence record
- Completed locations checked against the original map.
- Photos before compound and after final coating.
- Fastener, compound, texture, primer, and paint products recorded.
- Areas excluded because another condition required evaluation.
- Walkthrough lighting and viewing conditions.
- Notice process if a repaired or nearby fastener becomes visible again.
Helpful public references
- Gypsum Association GA-222: Repairing Screw or Nail Pops — industry repair sequence and current-edition caution.
- Gypsum Association GA-216 — current application and finishing reference.
- U.S. EPA RRP consumer guidance — planning paid paint-disturbing work in covered pre-1978 housing.